12 Proven Ways to Reduce CNC Machining Costs
Cut CNC machining costs without losing quality: 12 practical DFM tips on tolerances, materials, setups, finishes, and smart sourcing.

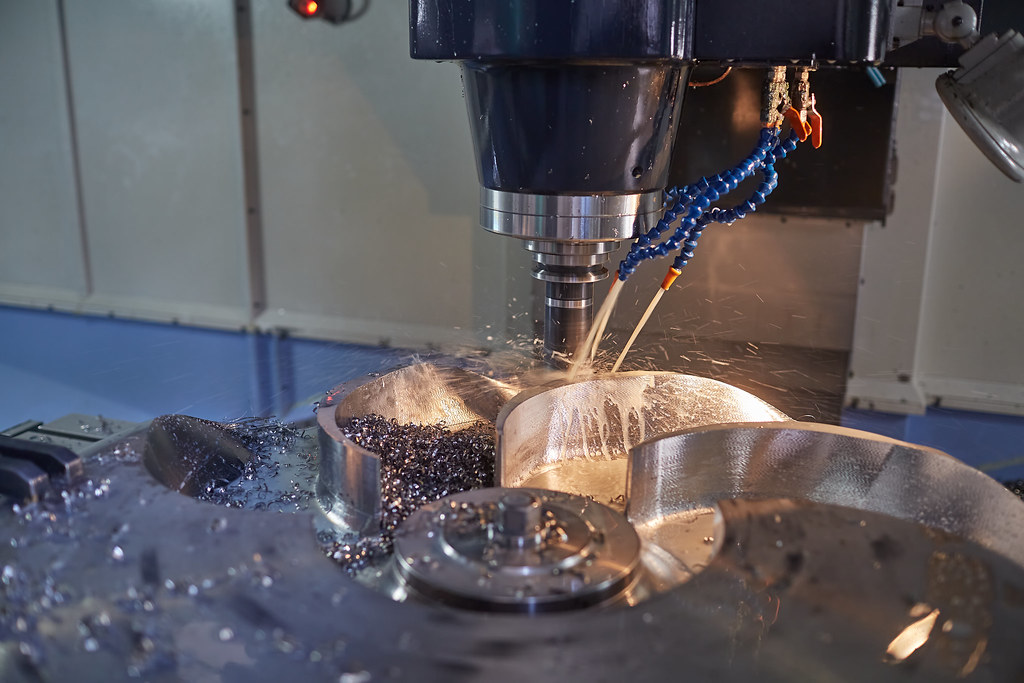
CNC machining delivers the accuracy, repeatability, and material range that precision parts demand—but it is rarely the cheapest process per part. The good news for design engineers and buyers is that a large share of machining cost is decided long before a tool ever touches metal. It is locked in by the geometry, tolerances, finishes, and material you specify on the drawing. Understand what actually drives cost, and you can often shave 20-40% off a quote without compromising fit, function, or reliability.
This guide breaks down the real machining cost drivers, then gives you 12 concrete, field-tested tactics to reduce CNC machining cost through better design optimization, smarter DFM (Design for Manufacturability), and sharper sourcing decisions.
What Actually Drives CNC Machining Cost
Before optimizing, it helps to know where the money goes. A CNC machining quote is essentially a function of machine time plus material plus labor and overhead, amortized over your order quantity. Six factors dominate:
- Material: Both raw stock price and machinability. A free-machining aluminum cuts fast and cheap; a tough superalloy or titanium grade chews up tooling and cycle time.
- Geometry complexity: Deep cavities, intricate 3D contours, tight internal corners, and multi-axis features all add cutting time and may require specialized tooling.
- Tolerances: Tight tolerances demand slower cuts, finishing passes, in-process inspection, and sometimes scrapped parts. Cost rises sharply as tolerances tighten.
- Surface finish: A standard as-machined finish is "free." Mirror finishes, fine bead blasting, and cosmetic-grade requirements add operations.
- Number of setups: Every reorientation of the part means re-fixturing, re-zeroing, and added labor. Fewer setups means lower cost and better accuracy.
- Quantity: Programming, fixturing, and first-article inspection are one-time costs spread across the batch. Higher volumes drive down per-part price.
The table below maps each driver to the practical mitigation you control as a designer or buyer.
| Cost Driver | Why It Raises Cost | Mitigation |
|---|---|---|
| Material selection | Hard, gummy, or exotic alloys cut slowly and wear tooling | Choose free-machining grades; avoid over-specifying exotic metals |
| Geometry complexity | Deep pockets, thin walls, and 3D contours add cycle time | Simplify features; respect depth-to-width ratios; add fillets |
| Tolerances | Tight specs require finishing passes and 100% inspection | Loosen non-critical tolerances to standard machining limits |
| Surface finish | Cosmetic and mirror finishes add secondary operations | Default to standard as-machined finish where function allows |
| Number of setups | Each reorientation adds fixturing and labor | Design features on fewer faces; consolidate operations |
| Quantity | Setup and programming are fixed, one-time costs | Batch orders; commit to volume; consolidate part numbers |
| Tooling variety | Many tool changes and custom cutters slow the job | Standardize hole sizes, radii, and thread types |
| Documentation quality | Ambiguous drawings cause RFQ delays and rework | Supply clean CAD plus clear PMI/GD&T |
12 Proven Ways to Lower Your Machining Costs
1. Loosen Non-Critical Tolerances
Tolerances are the single most over-specified item on most engineering drawings. A blanket ±0.005 mm callout on every dimension forces the shop to treat the entire part as precision work. In reality, only a handful of features—mating surfaces, bearing bores, sealing faces—need tight control. Apply a sensible general tolerance block (for example, ISO 2768-m) and reserve tight tolerances only for functionally critical dimensions. Halving the number of tight-tolerance features can meaningfully cut inspection and machining time.
2. Avoid Deep Pockets and Tall, Thin Walls
Deep cavities require long, slender end mills that must run at reduced feeds and speeds to avoid deflection and chatter. As a rule of thumb, keep pocket depth under about 4x the tool diameter; beyond that, machining time climbs and tool breakage risk rises. Likewise, thin walls vibrate and flex during cutting. For metals, aim to keep wall thickness at or above roughly 0.8 mm (0.5 mm for plastics is workable but risky). Thicker, shallower features cut faster and scrap less.
3. Add Internal Corner Radii That Match Standard Tools
A perfectly sharp internal corner cannot be milled—rotating tools always leave a radius. Specifying square internal corners forces costly EDM or special tooling. Instead, design internal corners with a radius slightly larger than a standard tool radius. A good default is an internal radius of at least one-third of the cavity depth, sized to a common cutter (e.g., 3 mm or 5 mm). This lets the shop use a standard end mill at full speed.
4. Choose Machinable Materials
Material has a double impact: stock price and machinability. Where strength and corrosion requirements allow, aluminum 6061 is the workhorse of cost-effective machining—it cuts fast, holds tolerance, and finishes well. Free-machining brass and certain free-machining steels (e.g., 12L14) also run quickly. Reserve stainless, tool steels, titanium, and superalloys for applications that genuinely require them, since they cut slowly and consume tooling. Don't pay superalloy prices for a bracket that 6061 would handle.
5. Standardize Holes, Threads, and Features
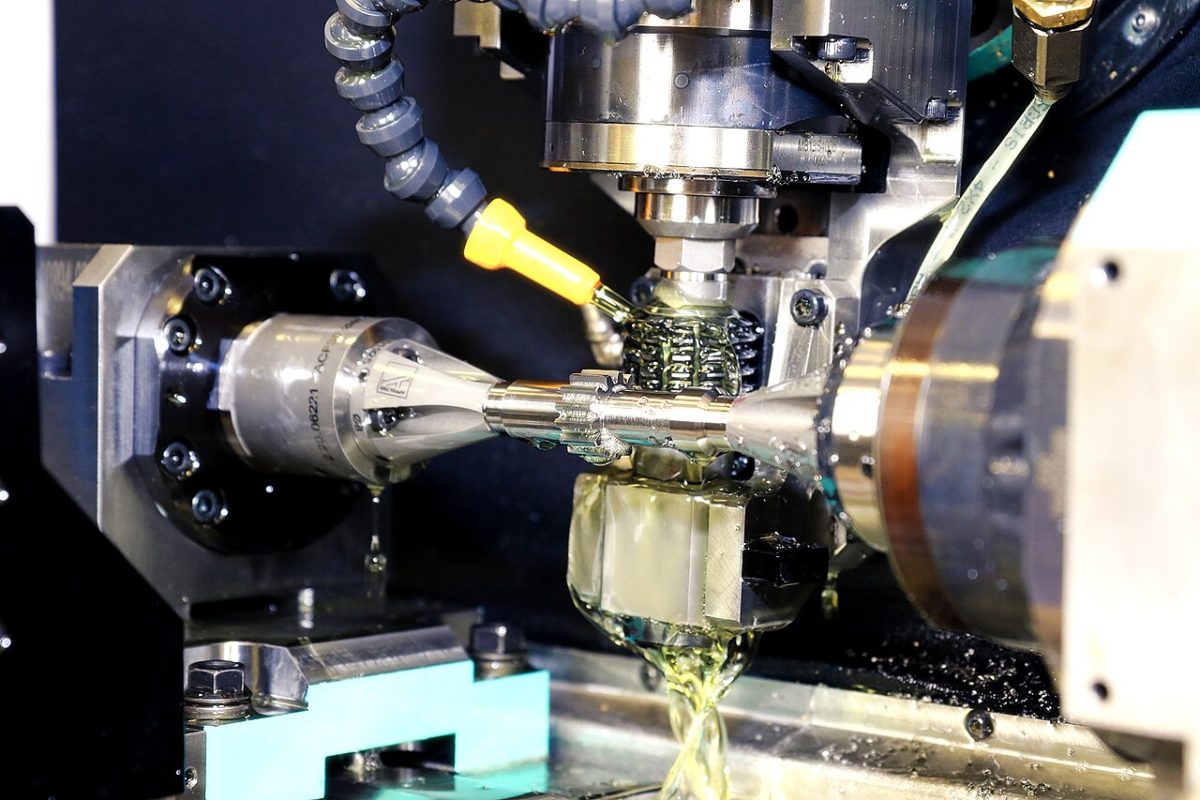
Every non-standard hole diameter or thread may require a dedicated tool, a tool change, or a custom cutter. Design holes to standard drill sizes and threads to common standards (metric coarse, UNC/UNF). Use standard thread depths—threading deeper than about 3x the hole diameter adds little strength but plenty of cost. Reusing the same radii, slot widths, and hole sizes across a part reduces tool changes and keeps the spindle cutting.
6. Design for Fewer Setups
A part that must be flipped and re-fixtured five times costs far more than one machined in two setups—and it accumulates positional error with each reorientation. Concentrate features on as few faces as possible, and avoid geometry that forces awkward workholding. Where multi-sided machining is unavoidable, designing in datum features and clamping surfaces helps the shop use efficient fixturing or 5-axis work to consolidate operations.
7. Specify Standard Surface Finishes
The default as-machined finish (typically around Ra 3.2 µm) is essentially free because it's the natural result of cutting. Calling out finer finishes—Ra 0.8 µm or mirror polish—adds finishing passes, hand work, or secondary operations. Apply tight surface-finish requirements only to functional surfaces such as seals and sliding interfaces. For cosmetic needs, a standard bead-blast or anodize is far cheaper than hand polishing.
8. Right-Size Your Quantity and Batch Orders
Programming, fixturing, and first-article inspection are fixed costs paid once per job. Ordering ten parts spreads those costs thinly; ordering one spreads them across a single unit. Where forecasts allow, consolidate requirements into larger batches or blanket orders. Even modest quantity increases—from 5 to 50 pieces—often produce a dramatic drop in per-part price as setup amortization improves and the shop can optimize the cutting strategy for volume.
9. Eliminate Cosmetic and "Just-in-Case" Requirements
Engraved logos, decorative chamfers, polished non-functional faces, and ultra-tight tolerances added "to be safe" all carry real cost. Audit every callout and ask: does this feature affect fit, function, or required appearance? If not, remove it. This single discipline—specifying what the part needs and nothing more—is one of the most reliable ways to reduce CNC machining cost.
10. Supply Clean CAD and Clear PMI
Ambiguous or incomplete documentation forces back-and-forth during the RFQ, delays quoting, and invites errors that turn into scrapped parts. Provide a native or STEP solid model plus a fully dimensioned drawing with unambiguous GD&T and product manufacturing information (PMI). Clearly flag critical-to-function dimensions. A clean data package lets the shop quote faster, tighter, and with fewer risk premiums baked in.
11. Consider Near-Net Stock and Hybrid Processes
If you're removing huge volumes of material to reach a small final shape, you're paying for both the wasted stock and the time to cut it away. For higher volumes, starting from a casting, forging, or extrusion that is closer to net shape—then finish-machining only the critical features—can dramatically reduce material and cycle time. A manufacturer that offers casting, forging, and machining under one roof can help you weigh this trade-off accurately.
12. Partner Early Through DFM
The cheapest design changes are the ones made before the part is released. A Design for Manufacturability review early in development surfaces the costly features—unnecessary tight tolerances, unmachinable corners, excessive setups—while they're still easy to change in CAD. Engaging your machining partner during design, rather than after the drawing is frozen, routinely unlocks the biggest savings of all.
Putting It All Together
None of these tactics require you to compromise quality. They simply align your design with how CNC machines actually work: standard tools, sensible tolerances, minimal setups, and machinable materials. Used together, they compound. A part that combines loosened non-critical tolerances, consolidated setups, standard finishes, and a machinable alloy can cost a fraction of an over-specified equivalent—while performing identically in the field.
A practical workflow looks like this:
- Identify the few truly critical-to-function dimensions and tighten only those.
- Simplify geometry—generous internal radii, manageable pocket depths, robust walls.
- Standardize holes, threads, and finishes to common shop capabilities.
- Consolidate features onto fewer faces to cut setups.
- Match material and starting stock to the actual requirement.
- Send a clean CAD and PMI package, and get a DFM review before release.
At MechPart Pro, our engineers run DFM reviews on incoming designs every day across CNC machining, casting, forging, and more—flagging the exact features driving your cost and proposing changes that protect function. If you'd like a second set of eyes on a part, send us your model and drawing for a free DFM review, and we'll show you where the savings are before you commit to production.
Lower cost rarely comes from squeezing the supplier on price. It comes from designing parts that are inherently cheaper to make. Master the machining cost drivers above, build design optimization into your process, and you'll consistently get better parts—and better quotes—without ever sacrificing quality.
Related capabilities
Have a part to make?
Upload your CAD for a detailed quote and free DFM feedback within 24 hours.