Rapid Prototyping: CNC vs. 3D Printing vs. Molding
Compare CNC machining, 3D printing, urethane casting, and bridge tooling across speed, cost, accuracy, and materials to pick the right route by stage.

Every hardware program lives or dies by how fast a design can move from screen to physical part and back again. The faster you can hold a prototype, test it, and feed what you learn into the next revision, the lower your risk and the shorter your time to market. But "rapid prototyping" is not a single technology. It is a family of fabrication routes, each with its own sweet spot for speed, cost, accuracy, material range, and surface quality.
Choosing the wrong route wastes weeks and budget. A part that needs production-grade thermoplastic for a fit-and-function test does not belong on an FDM printer. A purely visual concept model does not justify a multi-axis CNC setup. This guide compares the main prototyping methods that engineers and procurement teams encounter day to day, and gives you a framework for matching the method to your development stage.
The Main Rapid Prototyping Routes
Most prototype parts are made by one of five routes: CNC machining, 3D printing (in several distinct flavors), urethane vacuum casting, and bridge tooling. Each answers a different question about where you are in development.
CNC Machining
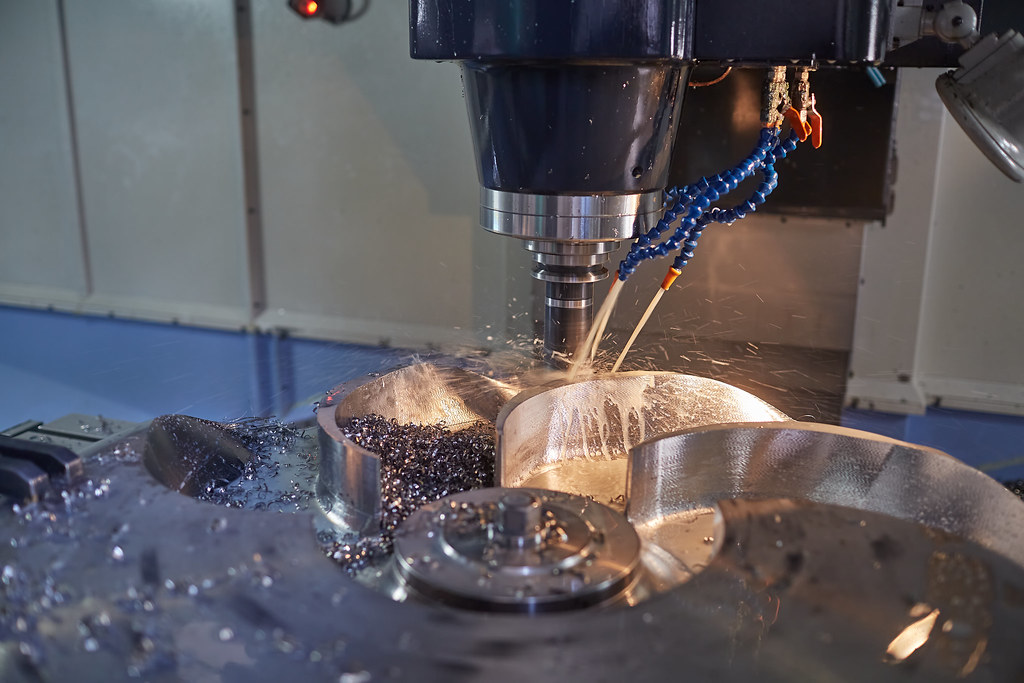
Computer numerical control (CNC) machining is a subtractive process: a solid block or billet of material is held in a machine, and rotating cutting tools remove material until the finished geometry remains. Three-axis mills handle most prismatic parts; 4- and 5-axis machines reach undercuts and complex contours, and CNC turning produces cylindrical components.
CNC is the default when a prototype must be made from the actual production material and must hold tight tolerances. Because it cuts real engineering metals and plastics, a machined prototype behaves mechanically like the eventual part. Typical achievable tolerances commonly land around ±0.025 to ±0.05 mm for well-controlled features, far tighter than most additive processes. The trade-off is that complex internal geometries, deep pockets, and organic shapes can be difficult or impossible to reach with a cutting tool, and material removed is material paid for and discarded.
3D Printing: FDM, SLA, and SLS
3D printing, or additive manufacturing, builds parts layer by layer directly from a CAD file with no tooling. The three workhorse technologies for prototyping differ sharply in cost, accuracy, and the parts they suit.
- FDM (Fused Deposition Modeling) extrudes a heated thermoplastic filament and deposits it layer by layer. It is the most accessible and lowest-cost option, ideal for early concept models, jigs, and rough fit checks. Layer lines are visible, anisotropy means parts are weaker in the Z direction, and fine detail is limited, but turnaround can be hours.
- SLA (Stereolithography) cures liquid photopolymer resin with a UV laser or projected light. It delivers excellent surface finish and fine feature resolution, making it the go-to for visually accurate models, detailed housings, and master patterns for casting. Standard resins are brittle and degrade under UV and heat over time, so SLA parts are usually for form and appearance rather than long-term functional load.
- SLS (Selective Laser Sintering) fuses nylon (polyamide) powder with a laser. Because the surrounding powder supports the part, SLS needs no support structures and can produce complex geometries and even functional, durable nylon parts. Surfaces have a characteristic grainy, matte texture, and it suits functional testing and low-volume end-use parts in plastic.
The shared advantage of all additive methods is geometric freedom: lattices, internal channels, and consolidated assemblies that no mill or mold can produce. The shared limitations are material range narrower than machining or molding, and surface and tolerance quality that usually trail CNC.
Urethane (Vacuum) Casting
Urethane casting, also called vacuum casting or polyurethane casting, is the classic bridge between one-off prototypes and injection-molded production. A master pattern, usually printed by SLA or machined, is used to create a two-part silicone mold. Polyurethane resins are then poured and cured under vacuum to pull out air and capture fine detail.
This route shines when you need 10 to about 25 high-quality copies that look and feel close to molded plastic, including over-molding, color matching, and a wide range of Shore hardnesses from rigid to rubber-like. It is far cheaper and faster than cutting steel tooling. The catch is that each silicone mold has a limited life of roughly 20 to 25 pulls before detail degrades, urethane resins only approximate the properties of true engineering thermoplastics, and the process is labor-intensive rather than fully automated.
Bridge Tooling
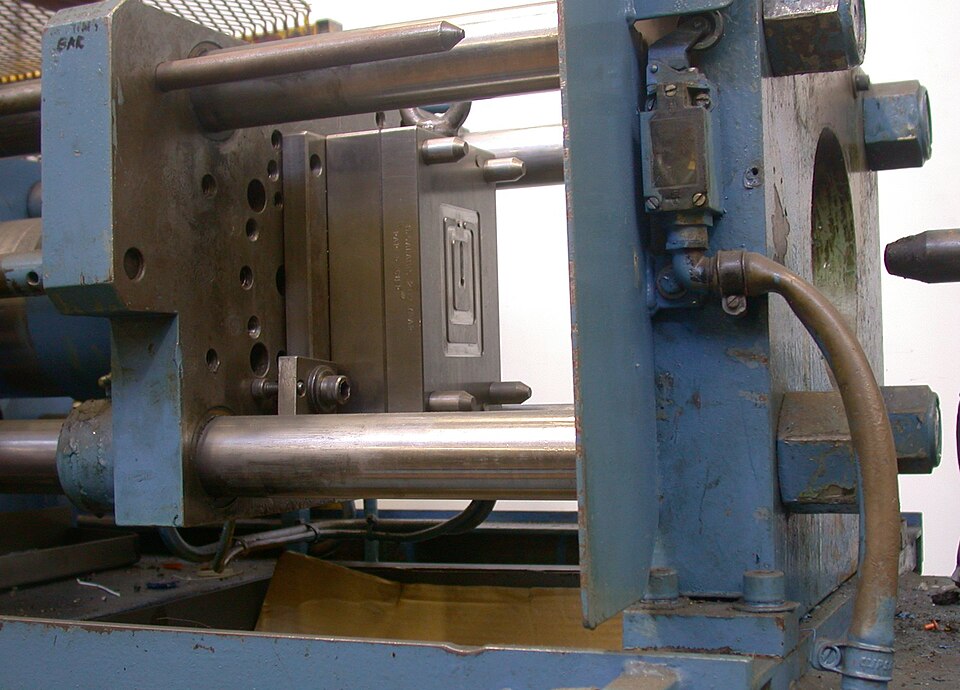
Bridge tooling, sometimes called prototype or soft tooling, uses lower-cost molds, often aluminum or soft steel, to run injection molding before committing to hardened production tooling. As the name suggests, it bridges the gap between prototype quantities and full mass production.
Bridge tooling produces parts in the real production thermoplastic with real molding behavior, which makes it the most representative way to validate a part before high-volume launch. Aluminum tools are faster and cheaper to cut than hardened steel and can still yield from hundreds to thousands of parts, enough to support a market launch or design validation while the production tool is being built. The cost and lead time sit well above other prototyping routes, so bridge tooling is a pre-production decision, not an early-concept one.
Side-by-Side Comparison
The table below summarizes how these routes compare on the factors that drive most sourcing decisions. Treat the figures as typical industry ranges; exact results depend on geometry, material, machine, and finishing.
| Method | Relative Speed | Relative Cost (per part) | Typical Accuracy | Materials | Surface Finish | Best Quantity |
|---|---|---|---|---|---|---|
| CNC Machining | Fast to moderate | Moderate to high | Tightest (~±0.025-0.05 mm) | Most metals and engineering plastics | Excellent, many finish options | 1 to low hundreds |
| FDM | Fastest | Lowest | Low | Common thermoplastics (PLA, ABS, PETG, nylon) | Visible layer lines | 1 to a few |
| SLA | Fast | Low to moderate | High detail | Photopolymer resins | Smooth, fine detail | 1 to a few |
| SLS | Fast | Moderate | Moderate | Nylon and filled polyamides | Grainy matte, no supports | 1 to low hundreds |
| Urethane Casting | Moderate | Low per part in small batches | Good (mirrors master pattern) | Polyurethane resins, many Shore hardnesses | Very good, moldable textures and color | ~10 to 25 |
| Bridge Tooling | Slowest to first part | High upfront, low per part at volume | Production-grade | Production thermoplastics | Production-grade molded | Hundreds to thousands |
Choosing a Method by Development Stage
The cleanest way to pick a route is to anchor it to the question you are trying to answer right now. Prototyping is iterative, and the right method usually changes as a design matures from idea to launch.
Concept Stage: Validate Form and Ideas Fast
At the earliest stage you are checking proportions, ergonomics, and basic geometry. Speed and low cost matter far more than material accuracy or tolerances. You expect to throw the part away and revise quickly.
- FDM is usually the right first call: cheap, fast, and good enough to hold a shape in your hand and spot obvious problems.
- SLA steps in when the concept model needs to look polished, for instance a sales or stakeholder review where surface quality sells the idea.
Functional Test Stage: Validate Fit, Form, and Function
Once the concept is settled, prototypes must behave more like the real part: snap fits that flex, threads that engage, components that survive handling and basic load. Material properties and accuracy now matter.
- CNC machining is ideal when the part must be the production material or hold precise tolerances, especially metal components and tight-fitting assemblies.
- SLS suits durable, geometrically complex plastic parts that need to function but not necessarily match the exact production resin.
- Urethane casting is the answer when you need a small batch of look-and-feel-correct units, for example a pilot run for field trials, photography, or distributing samples to multiple test sites.
Pre-Production Stage: Validate Manufacturing and Launch Readiness
Before committing to expensive hardened tooling, you want to confirm that the part molds correctly, meets specification in the production material, and can support an initial market launch. The decision shifts from "does the design work" to "does the manufacturing process work."
- Bridge tooling is the standard route here, producing real molded parts in real thermoplastic to validate the process and supply early demand while production tooling is finalized.
- CNC machining remains valuable for low-volume metal parts where injection molding never applies, or to produce a final qualification batch.
Practical Factors Beyond the Method
The fabrication route is only part of the decision. Several cross-cutting factors influence which method delivers the best outcome.
- Tolerances and critical features. If a drawing carries tight GD&T callouts, machining or post-machined finishing is usually unavoidable regardless of how the bulk of the part is made.
- Surface treatment and finishing. Anodizing, bead blasting, plating, painting, and polishing can transform a prototype's appearance and performance. A modest machined or cast part plus the right finish often beats a more expensive raw part.
- Design intent of the test. Be explicit about what each prototype must prove. A part for a thermal test, a drop test, and a marketing render may each justify a different method, even for the same geometry.
- Quantity and repeatability. A single part and a batch of 30 point to very different routes. As volumes rise, the per-part economics swing toward tooling-based methods.
- Supplier capability. Working with a manufacturer that operates multiple processes under one roof lets you move between routes, and ultimately into production, without re-qualifying a new vendor at each stage.
Bringing It Together
There is no single best rapid prototyping method, only the best method for a specific question at a specific stage. Early on, lean on additive processes such as FDM and SLA to iterate fast and cheaply. As designs firm up, move to CNC machining for accuracy and production materials, SLS for functional plastics, and urethane casting for small batches that look and feel like the real product. When you are ready to validate manufacturing and launch, bridge tooling closes the gap to mass production.
The teams that prototype best are not the ones that pick one favorite technology, they are the ones that match the route to the goal, plan the transitions between stages, and choose suppliers who can carry a design across all of them.
MechPart Pro operates CNC machining, casting, forging, sheet metal, injection molding, additive manufacturing, and surface treatment under one ISO 9001 certified roof in Shanghai, serving engineers and procurement teams in more than 40 countries. If you are weighing prototyping routes for an upcoming program, our engineering team can help you map the right method to each development stage. Share your drawings and requirements to start a conversation about your next build.
Related capabilities
Have a part to make?
Upload your CAD for a detailed quote and free DFM feedback within 24 hours.